Colour Blast DT Share - Whimsy Cards


Hello again guys.. I'm here today to walk you through the process of making these couple fun all occasion cards. I picked up a couple of Whimsy Stamps from a pre-loved stamp sale and couldn't wait to colour them in with my new love.. Colour Shimmer Cubes.. oh yes.. I'm in love!


I used Fire EnginePunchLipstick & Tangerine Colour Shimmer Cubes for the tights, dress and headband of the girl on the left hand side. Followed by Dusty Charcoal & Stormy Weather Colour Shimmer Cubes for the hair. The flowers were painted with Sunshine & Tangerine and leaves with Apple of My Eye mixed with a little bit of Leather, and lastly the little bear was coloured with the Leather Colour Shimmer Cube. 

The girl on the right was painted with Colour Shimmer cubes as well. The hair was a mixture of LipstickPunchRose PetalRoyalty & Lovely Lilac. The dress and leg warmers were coloured with EnvyDeep WaterSinging the Blues & Just Blue. The apples are various intensities of Apple of My Eye and a hint of Sunshine and finally the dog and basket were painted with the Leather Colour Shimmer Cube.

For my painting process have a read through the Shimmering Princess blog post, as I go into a lot of detail there. 


I first mixed the Peacock Colour Shimmer Dust with water in a small misting bottle to make a spray and sprayed a 5" x 5" piece of watercolour paper and then sprayed again through a spot stencil and gave it a blast with the heat gun. 


I then sprayed the same Peacock spray through a floral stencil and flipped the stencil and pressed it back onto the paper for a negative image.


A little bit of inking with blue ink through a striped stencil on the edges of the paper. 


A little bit of stamping on the edges with a script texture stamp using Archival Ink.


I then stencilled on some Dusty Charcoal Colour Paste to create a grounding for my image. 


After the Colour Paste fully dried I roughly painted on some Coffee Colour Spray in the area where the Colour Paste was, which created a really cool effect as the Colour Spray re-activated the spray I created from the Peacock Colour Shimmer Dust and created a mustardy brown colour. 


I then flicked on some of the Coffee Colour Spray with a paintbrush all over the background and let everything dry really well. 


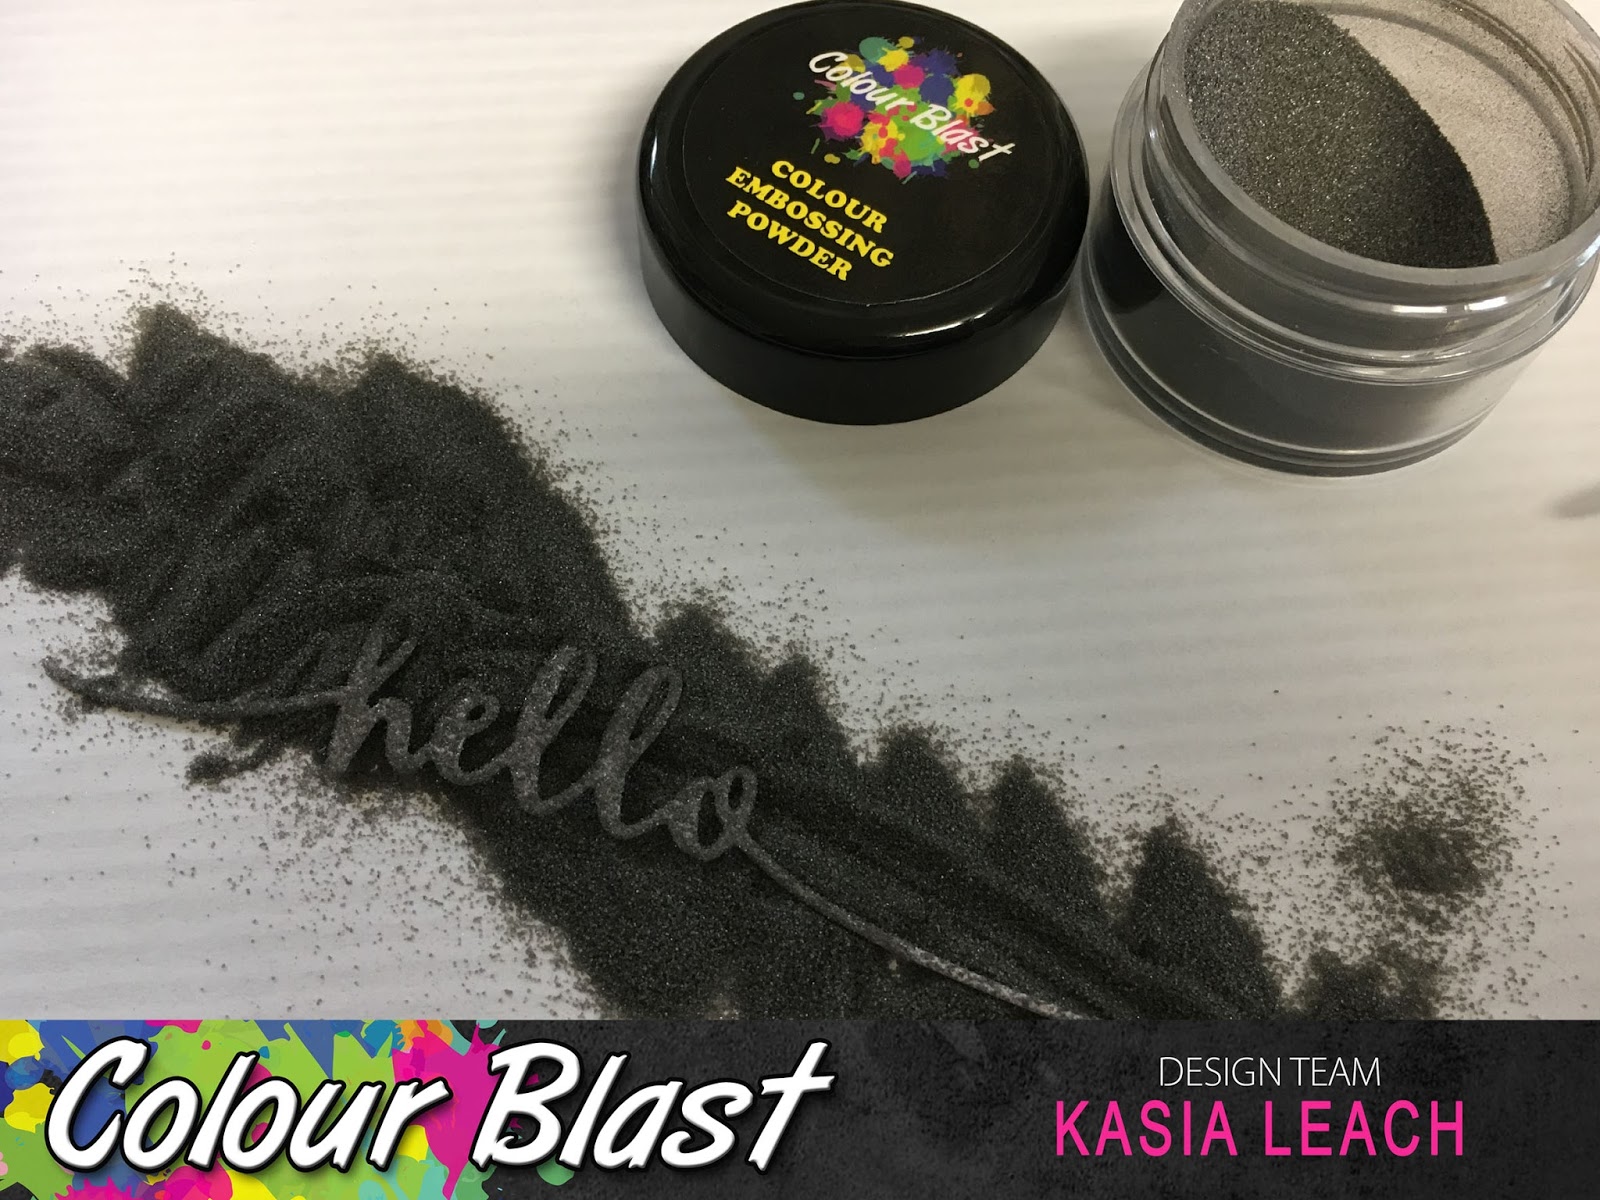
I die cut a couple of sentiments from white cardstock and covered them with Dusty Charcoal Colour Embossing Powder. 


I inked the edges of the watercolour panel with Walnut Stain Distress Ink and adhered it to a black top folding card base, added my little girl with foam adhesive and adhered the sentiment. 


I made the second card a the same time as the first but thought I would go through some of the steps separately. 


After spraying the first card base through the spotty stencil I pressed the stencil onto the second card base to get the reverse image. 


I then randomly stamped the diluted Peacock Colour Shimmer Dust all over the panel with a scribble texture stamp, not for a perfect impression but to simply create some texture. 


Creating extra texture with black in and texture stamps was the next step. At this stage I decided where I wanted to place my image and focussed the texture in this area. I then stencilled on the Sunshine Colour Paste through a large dot stencil and allowed it to dry really well. 


Once dry I painted on the Coffee Colour Spray with a brush like in the previous card and embossed the die cut sentiment with the Dusty Charcoal Colour Embossing Powder. 


So this completes the second card. I just love how all the colours mix and create all these gorgeous layers. 


Hope you enjoyed this project and give some of these products a try if you haven't already. 

Till next time.. don't forget to have fun! 
xx
Kasia

0

Creative Kit Club DT Share - Aug 2017

Eeeeeeek!!! The August Creative Kit is my most favouritest kit to date!!! Loved having mediums to play with, awesome dies which could be used to create texture and also as a stencil and chipboard...

POSSIBILITY BEGINS WITH IMAGINATION LAYOUT

So super excite about the chipboard as I got to design it from some of my doodles.. it makes me a little giddy that one moment I am drawing on paper, then playing with the drawing on the computer and then watching 'Leroy' the laser cutter cut the images..

LEAVE ORDINARY BEHIND LAYOUT

WHEREVER POSSIBLE CHOOSE ADVENTURE LAYOUT
LIVE IN THE MOMENT LAYOUT

0

Stamp & Colour DESIGN TEAM


So so so excited to be launching the Uniquely Creative Stamp & Colour Kit later this month and to be on the Design Team. Watch this space for a ridiculous amount of cuteness coming your way very soon!

xx
Kasia


0

Colour Blast DT Share - Shimmering Princess


When my Colour Shimmer Cubes arrived the other week I could not wait to start playing. Just like any other new watercolour medium I had to experiment with them to see just what I could achieve and how they reacted in different situations.  So this post will be all about my discoveries and I will share a number of tips with you how to take control of these babies and create magic results.


I store my Colour Shimmer Cubes with the lids off in a little drawer unit from K-Mart. I pull the drawers out to use them and once they are completely hard again pop them back in the unit, this way they don't go off. There is a gap in the unit so that there is still airflow even after the drawers are in. 


I created a palette with all the colours I had so I could work from this for most of my project and only used the cubes for really concentrated colour. 


I stamped out my Prima Princess image onto watercolour cardstock with waterproof ink and started slowly laying down colour. 


By slowly, I mean the colour was very diluted. To achieve this I used a size 12 round brush filled with water and only slightly dipped the tip into my palette of Colour Shimmer Cubes. 

When you do this you pick up only a little bit of colour and not much of the shimmer, as the shimmer drops to the bottom of your mixture. To pick up the shimmer, you just need to dip your brush right in and touch the bottom. 


Controlling the amount of shimmer you achieve is very important as this means you can use the Colour Shimmer Cubes not only to achieve an amazing shimmering result, but also as a matt finish for areas like skin, where you don't want such an intense amount of shimmer. 

Using a very diluted amount of the Colour Shimmer Cubes you can also achieve lovely skin tones. For the skin I mainly used the Leather Colour Shimmer Cube and added a tiny amount of Blush Colour Shimmer Cube to the mix. 

For the hair I used a mix of LeatherSienna and Dusty Charcoal Colour Shimmer Cubes. Again I built up the layers of colour very slowly. If you by chance make the colour too dark, you can always paint on a little clean water onto the area which you want to lighten and dab off with a dry tissue. It's a good idea to always have tissues or a paper towel at hand when painting with watercolours. 


I then focussed on the flowers. Again.. slowly build up the layers of colour. I literally used every single colour of Colour Shimmer Cube I had (all but Bling and Snow White... my next purchase for sure!). It's a good idea to do a swatch of your colours so you know how they look on paper rather than in the cube. 


I started each section of each flower with a light layer then painted on slightly more concentrated amount of colour where the shadows would be. This image was lovely to work with as there were already a lot of artist drawn shadow indicators. So if you are just starting, pick some images that have these indicators already there so you can just play and not have to think where the shadows would be yourself. 

Just remember to only work next to areas that are dry or your colour will bleed into the wet section.


You can see in this image just how much the Colour Shimmer Cubes can shimmer and just how matt of a result you can achieve.


After I finished colouring the main images I started working on the background. Again.. layers, layers and layers of colour. 

I like to work wet on wet when I am wanting to create a loose flowing background. By wet on wet I mean I lay down clean water onto the area I want to add colour to and then drop in the colour into those areas. Let the area completely dry and then repeat the process again and again. 

  
For the background I used mainly EnvyDeep WaterSinging the Blues and Just Blue Colour Shimmer Cubes, then added just a little Apple of My EyeLovely Lilac and Royalty Colour Shimmer Cubes. Just remember to let each layer dry well before adding another layer. This will let you achieve a lot more depth and get those lovely watercolour lines. 

When all your layers are dry add a generous amount of splatters making sure you cover the main image to protect it. 

Well.. that's all from me today. I hope you enjoyed my first Colour Blast DT project, maybe learned something and are inspired to get your Colour Shimmer Cubes out for a play. 

xx Kasia 
0

Creative Kit Club DT Share - July 2017

Hi Guys.. Quick DT share for the Creative Kit Club today with a fun little layout created specifically for the July Kraft Plus Challenge "Roses 3 Ways".  


Now this was a challenge for me because of the whole flower thing as I find flowers rather challenging to start with. But.. the Uniquely Creative kit this month just happened to be loaded with flowers, flower dies and 'yellow' which just makes me smile.

My hubby often brings me flowers home from the garden he works in and the yellow roses are my absolute favourite.. so everything just fell into place quite happily for me.

xx
Kasia
0